How to Replace a Light Switch Safely
Step-by-step light switch replacement for homeowners — shutoff, testing, wiring, and when to call an electrician.
🧰 Tools for this repair
Quick links to the gear I use on this job.
- Digital Multimeter
Price:$18.39
Order now atAffiliate link — no extra cost to you
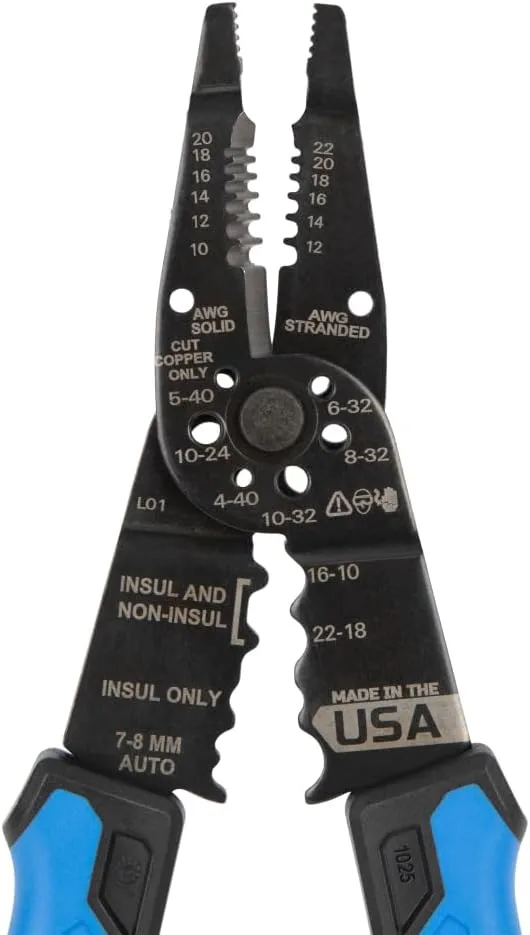
- Wire Strippers
Price:$16.98
Order now atAffiliate link — no extra cost to you
- 11 in 1 Screwdriver
Price:$15.97
Order now atAffiliate link — no extra cost to you
Video Tutorial
How to Replace a Light Switch Safely
I'm filming this walkthrough for YouTube. Subscribe on the channel so you catch it when it drops.
Subscribe on YouTubeQuick overview
Steps at a glance
Estimated time: 45 min
- 1
Shut Off and Verify
Breaker off, then confirm zero voltage at the switch. No exceptions.
- 2
Wire Identification
Note where each wire landed before removal. Take a photo for reference.
- 3
Install and Test
Secure connections, tuck wires neatly, mount the switch, restore power, and test operation.
Switch replacement is a common DIY win — if you respect shutoff and wire identification.
- Shut Off and Verify
- Wire Identification
- Install and Test
In this guide, I’ll show you:
- Shut Off and Verify
- Wire Identification
- Install and Test
Shut Off and Verify
Breaker off, then confirm zero voltage at the switch. No exceptions.
Wire Identification
Note where each wire landed before removal. Take a photo for reference.
Install and Test
Secure connections, tuck wires neatly, mount the switch, restore power, and test operation.
DIY Veteran Tips
If the box is crowded, wires are brittle, or you see aluminum wiring, stop and call a licensed electrician.
Final Thoughts
Safe shutoff, clear photos, and solid connections make switch swaps straightforward for most homeowners.
Creator picks
Tools & products for this job
Gear I reach for on this kind of repair. Each links to my full review where available.
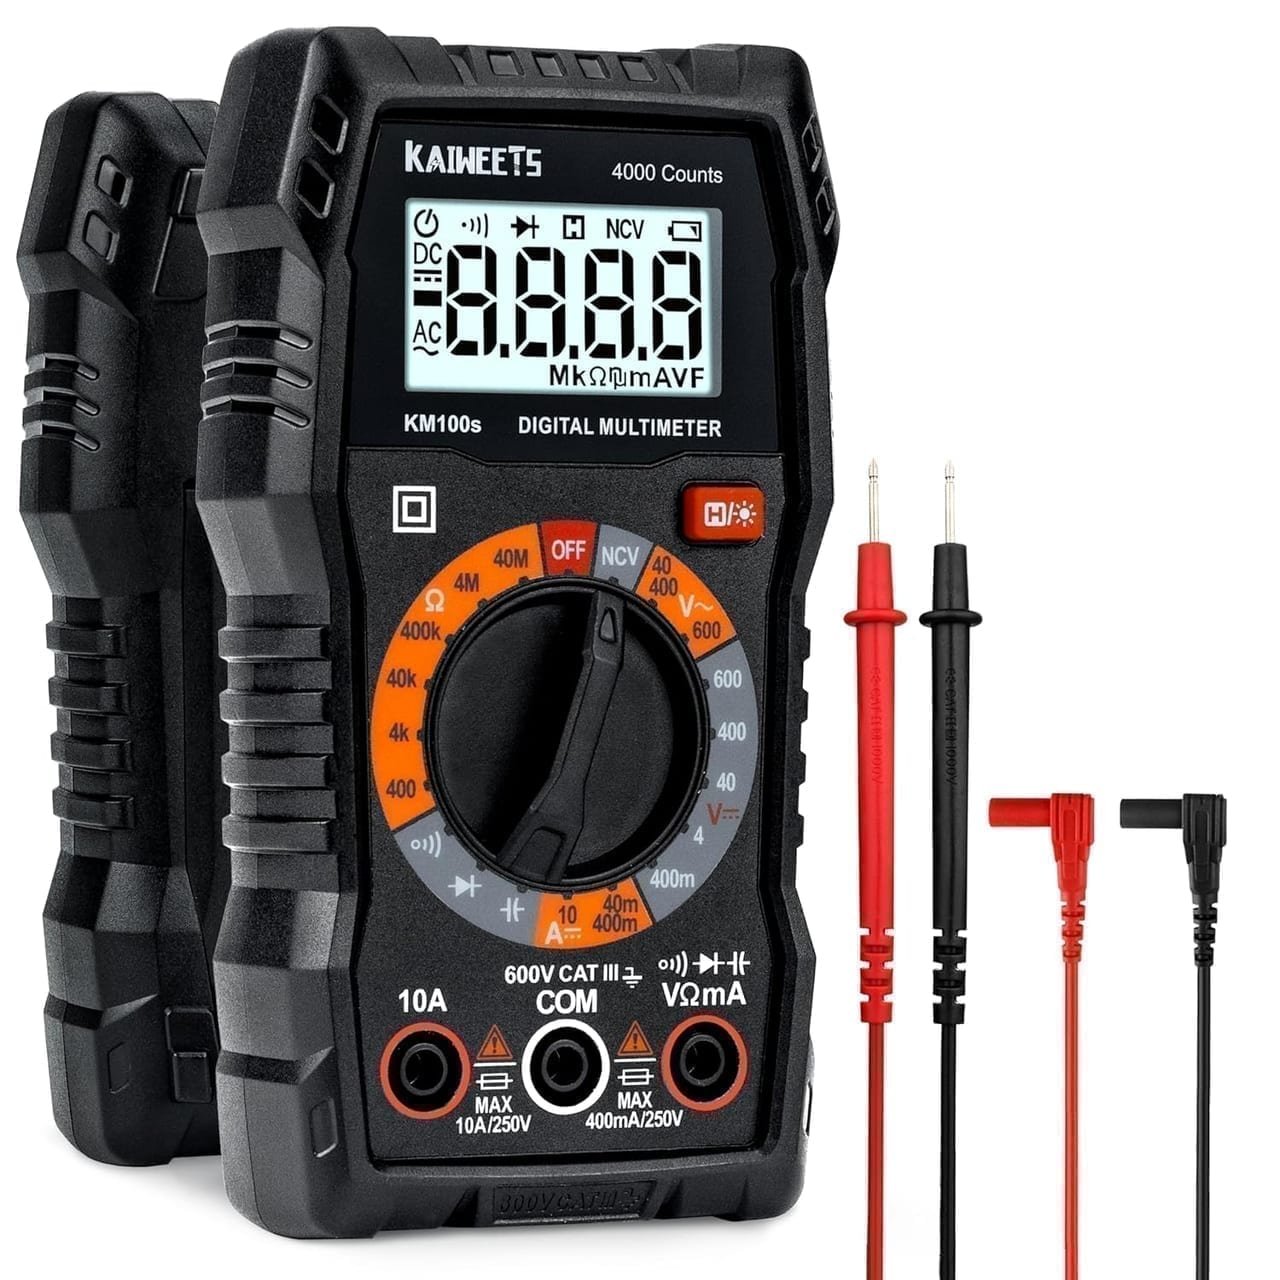
Digital Multimeter
Essential multimeter for voltage, capacitor checker, continuity, and resistance testing on engines and electrical systems.
Price:$18.39
Affiliate link — no extra cost to you

Wire Strippers
These wire strippers will help you complete your next wiring job with its 1 of a kind design it makes stripping wire easy.
+ Ergonomic handles for hours of stripping.
+ crimps insulated and non-insulated terminals
Price:$16.98
Affiliate link — no extra cost to you
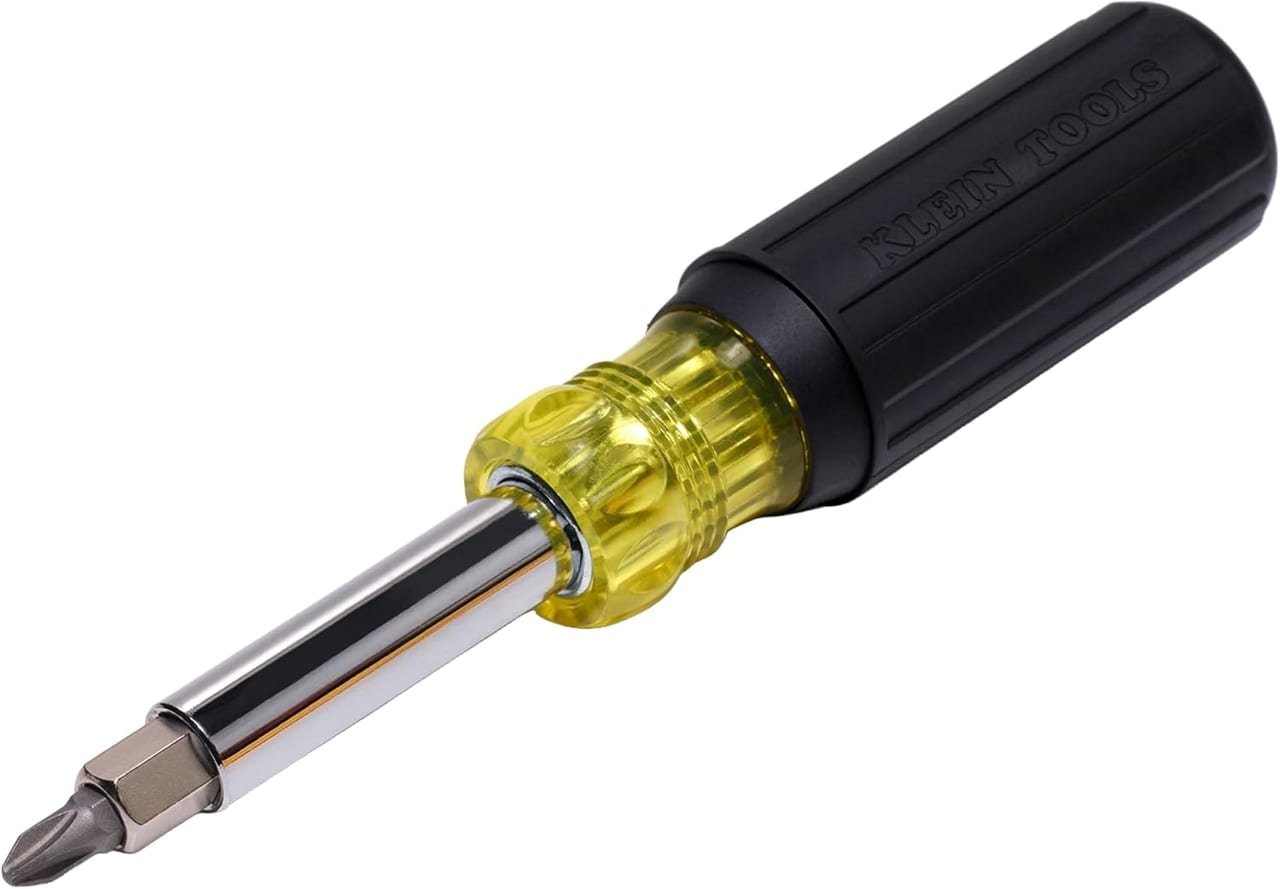
11 in 1 Screwdriver
This 11 in 1 screwdriver is just what you need to complete those wire repairs.
+ Great grip and plenty of bits.
+ Very durable and lasts a long time.
Price:$15.97
Affiliate link — no extra cost to you
As an Amazon Associate, I earn from qualifying purchases at no extra cost to you. Links open Amazon's secure site — we never see your payment info.
Quick answers
